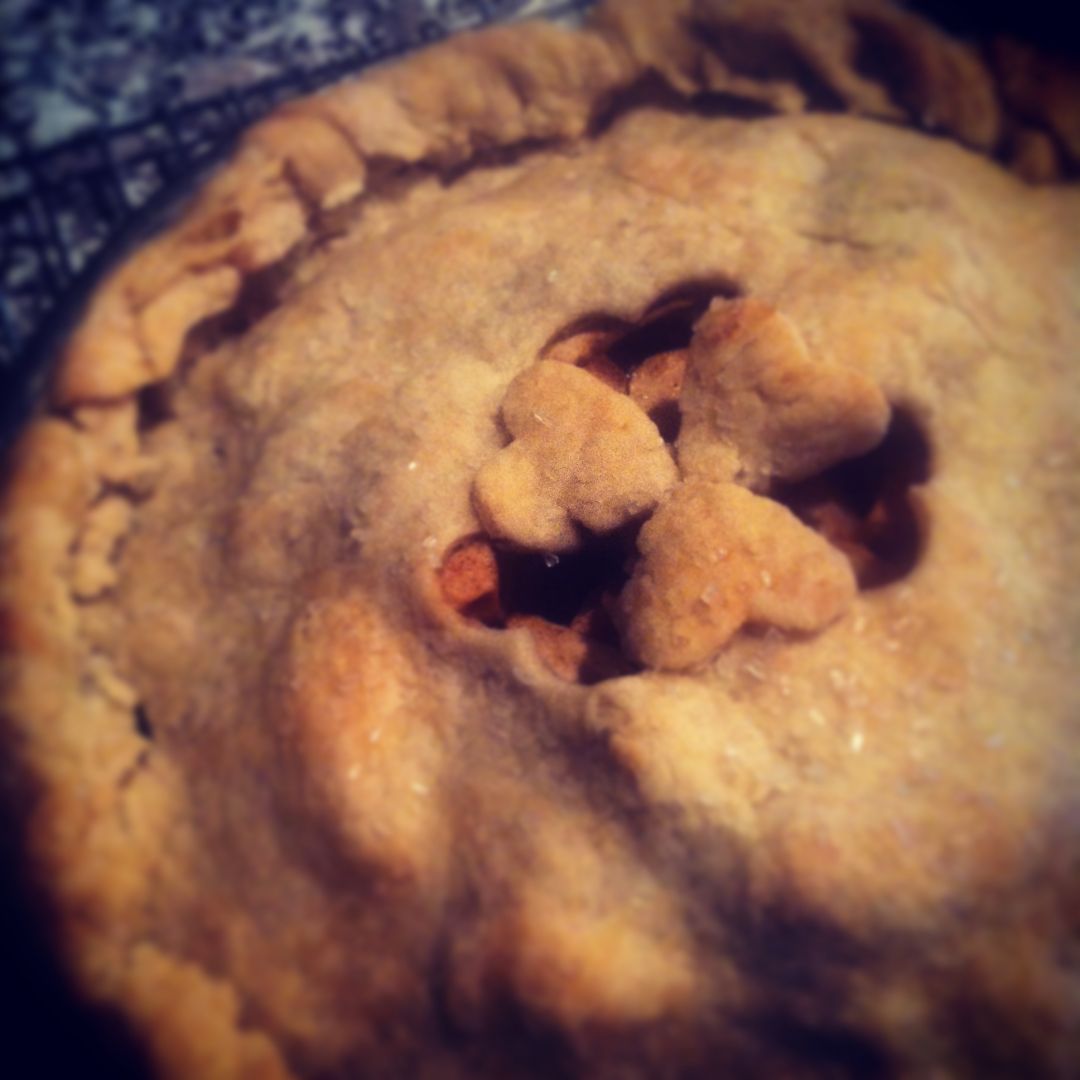
Once fall hits, there’s pretty much only one thing I want to do: bake pies. The first pie I learned to make was an apple pie. My grandmother baked pies, and she taught my mother, who later taught me. Baking was a regular activity in my house growing up, and now that I’m grown up, it’s one of my favorite ways to pass the time.
It’s a simple recipe – only about ten ingredients – but for whatever reason, it cannot be beat. I always peel the apples by hand while seeing how long of a ribbon I can create before the peel breaks.
The biggest ‘secrets’ lie in the crust. Be sure to use ice cold water. It ensures that the crust will be flaky and crisp, not too crumbly and not too soggy. It is also best to handle the dough as little as possible; if it warms up too much it becomes sticky and difficult to work with and will be doughy once baked.
My last pointer: have fun. It’s okay to have crumblies in the bottom of the bowl when you’re mixing the dough, you don’t have to get every last speck of skin off the apples when you peel them, and the crust doesn’t have to be perfectly crinkled. Pies with a little character always taste better, don’t you think?
Tools:
- wax paper
- medium mixing bowl
- large mixing bowl
- paring knife
- pastry blender
- mini cookie cutter(s), optional
- rolling pin
- pie plate
Pawpaw’s Mom’s Apple Pie
Ingredients
Double Pie Crust:
2 cups all-purpose flour
2/3 cup shortening
1 teaspoon salt
6-7 tablespoons COLD water
Filling:
8-12 apples, peeled (I usually use Cortland apples from my local apple orchard; they’re great for baking!)
~1/2 cup sugar*
1 teaspoon cinnamon**
2 tablespoons flour
dash of nutmeg
*The original recipe calls for 1 cup sugar, but I usually use ~1/2 to 3/4 of a cup to make it a little more tart.
**Again, I deviate from the original recipe (and all the rules of baking) here and I ‘eyeball’ the cinnamon entirely. I’m usually fairly generous – in the end it probably works out to ~1.5-2 teaspoons.
Directions
Pre-heat oven to 375º.
Rinse, peel, core, and thinly slice apples; I usually try to slice them about 1/8″- 3/16″ thick. Add to large mixing bowl. Add sugar, cinnamon, and nutmeg (this is where I usually end up sprinkling a cinnamon blanket over the apples). Stir and let sit at room temperature.
Now for the crust.
Add flour, salt, and shortening to medium mixing bowl. With a fork or pastry blender (this tool is totally worth it!), cut in the shortening until it’s mixed with the flour, forming pea-sized balls. Add cold water and work the dough together quickly into a ball; I usually use my hands for this part. Don’t over-process the dough. Smash the ball into the bottom of the bowl to incorporate any rogue crumblies. Divide roughly in half, and set half aside.
Tear two pieces of wax paper 12″-14″ long, and roll out the bottom pastry shell into a rough circle. Rolling in all directions helps keep the thickness even. Once the dough is the desired thickness (~1/8″), remove the top layer of wax paper. Gently place crust in pie plate, dough side down, remaining wax paper side up. Carefully peel wax paper from dough and gently smooth dough into the pie plate, removing any air bubbles. Leave rough/excess crust around the edges for the moment.
Stir apple mixture one more time; the sugar should be broken down into a cinnamon-y syrup of awesomeness at this point. Pour apple mixture, syrup and all, into pie shell. Apples should be lightly mounded. They will settle once baked.
Roll out the remaining half of dough as directed above. Once the dough is the desired thickness (~1/8″), remove the top layer of wax paper. Use mini cookie cutters to cut out 2-3 shapes in the center of the rolled out dough. If you don’t have cookie cutters (or they aren’t your style), cut a few slits at the center of the dough. Since double crusted pies are completely sealed, the top needs to have slits/cutouts to allow steam to escape while the pie bakes. Gently set crust dough side down onto mounded apples, and peel back the remaining layer of wax paper. Seal the edges by folding the lower crust up and smoosh together with upper crust forming a crinkled edge. You can get fancy with this part if you’d like, there are lots of tricks and tools out there for crust shaping – I usually use my fingers and wing it!
Sometimes I’ll do a butter wash (makes it golden brown) or an egg wash (gives it a little shine) on the top crust and maybe sprinkle some chunky sugar crystals to give it a little flair. Dress it up or keep it classic, whatever melts your butter.
Bake for 25-30 minutes with a crust cover or with a ring of aluminum foil protecting the crust. Remove crust cover or foil and bake for another 25-40 minutes or until golden brown and bubbly around the edges. To save some clean-up time, put the pie plate on a cookie sheet covered in aluminum foil; this will catch any juice that bubbles over! Let pie cool before serving. Pie can be left at room temperature for about 2 days and refrigerated for another 2 days after that.
Slice, serve, and enjoy!


